
Roast Beef Tenderloin is a luxurious dish, and mastering the reverse sear technique ensures an incredibly tender and flavorful result. This precise cooking method guarantees a beautiful perfect crust and juicy interior, making it ideal for special occasions or an elevated weeknight meal.
Key Takeaways
- The reverse sear method cooks beef tenderloin evenly at a low temperature before a high-heat sear.
- Achieving a precise internal temperature with a meat thermometer is crucial for perfect doneness.
- Resting times are non-negotiable for juicy roast beef, allowing juices to redistribute.
- A perfect crust is created by a quick, high-heat sear after the initial low-temperature roast.
- Adjust seasonings to your preference, but quality beef and proper technique are paramount.
Achieve culinary excellence with precision. This simple reverse sear method works wonders. Perfect beef tenderloin is within reach. Impress every guest with superior flavor. Enjoy delicious, consistent results.
Mastering Roast Beef Tenderloin: Reverse Sear
The culinary world often presents methods that seem complex, yet yield truly superior results. For a magnificent roast beef tenderloin, the reverse sear method stands out as a technique that consistently delivers perfection. This approach, which involves slow cooking followed by a quick, high-heat sear, transforms an already premium cut of beef into an unforgettable centerpiece. It’s a method that prioritizes precision and patience, rewarding the cook with a steakhouse-quality meal right at home.
What Reverse Sear Means
Reverse searing is a cooking technique that, as its name suggests, reverses the traditional order of searing and then roasting. Instead, you begin by roasting the beef at a very low temperature in the oven until it reaches a specific internal temperature, typically below its final desired doneness. This slow cooking allows the heat to penetrate the meat gently and evenly, resulting in a consistent pink color from edge to edge. Only after this initial low-temperature roast is the beef transferred to a screaming hot pan or grill for a brief, intense sear, creating that coveted, flavorful crust. To learn more about this method, you can check out its description on Wikipedia.
Benefits for Tenderloin
For a delicate and lean cut like beef tenderloin, the reverse sear method offers significant advantages. Firstly, it prevents the grey band of overcooked meat often seen in traditionally seared and roasted cuts. The slow cooking minimizes moisture loss, ensuring a juicy roast that melts in your mouth. Secondly, it provides an unparalleled opportunity to develop a deep, rich crust without overcooking the interior. This combination of tender, evenly cooked meat and a savory, crisp exterior makes reverse searing the ideal cooking method for achieving tenderloin perfection.
Why Choose Reverse Sear for Beef?
Choosing the reverse sear method for your beef, especially for a prized cut like tenderloin, is a decision rooted in science and culinary excellence. It addresses common challenges faced with traditional high-heat searing, which can often lead to an unevenly cooked interior or a burnt crust before the center is done. The deliberate, two-stage process of the reverse sear mitigates these issues, giving you greater control over the final product and enhancing the overall eating experience.
Ensures Even Cooking
One of the primary reasons to opt for the reverse sear is its remarkable ability to ensure even cooking. By starting with a low oven temperature (around 225°F or 107°C), the beef tenderloin heats up gradually and uniformly. This slow rise in temperature allows enzymes within the meat to work effectively, tenderizing the muscle fibers without causing them to seize up and expel moisture. The result is a consistent doneness throughout the entire piece, from edge to center, with no noticeable gradient of color or texture. This even cooking creates a superior texture that is consistently tender and succulent.
Creates Perfect Crust
The second, equally compelling benefit is the creation of a truly perfect crust. After the low-temperature roast, the surface of the beef tenderloin is relatively dry. This dry surface is key for achieving an excellent Maillard reaction when it hits the hot skillet. The Maillard reaction is a chemical process responsible for the savory, browned flavors and appealing aroma of cooked foods. A dry surface allows for quicker browning and crisping during the high-heat sear, forming a deep, flavorful crust without overcooking the interior, which has already reached its near-target internal temperature. This contrast between the tender, juicy interior and the robust, crispy exterior is what makes this main course truly exceptional.
Gathering Ingredients for Tenderloin Perfection
Successful cooking, especially with a premium cut like beef tenderloin, begins with careful preparation and the right ingredients. While the reverse sear technique is forgiving in its ability to deliver even cooking, the quality of your ingredients will directly impact the final flavor and enjoyment of your meal. Gathering everything before you start is crucial for a smooth cooking process.
Essential Beef Tenderloin Cut
The star of this recipe is, of course, the beef tenderloin. Look for a center-cut tenderloin, often labeled as “Chateaubriand” or simply “beef tenderloin roast.” Aim for a piece that is relatively uniform in thickness, which will further aid in even cooking. A weight of 2-3 pounds is ideal for serving several people. High-quality beef, preferably grass-fed or prime grade, will offer the best flavor and tenderness. Ensure it’s trimmed of excess silverskin and fat, though a thin layer of fat can be left for added flavor.
Seasoning and Oil Needs
For seasoning, simplicity often yields the best results, allowing the natural flavor of the beef to shine. You’ll need coarse kosher salt and freshly ground black pepper. Beyond these staples, you can get creative: garlic powder, onion powder, dried rosemary, or thyme can add depth. For the searing step, a high smoke point oil is essential, such as avocado oil, grapeseed oil, or canola oil. Olive oil, while flavorful, has a lower smoke point and can burn, imparting a bitter taste. For other dinner ideas, consider trying a Crispy Parmesan Chicken with Garlic Sauce.
Tools for Cooking
Having the right tools makes all the difference. You will definitely need:
- Wire Rack and Baking Sheet: To allow air circulation around the beef during roasting.
- Meat Thermometer: Absolutely critical for precise internal temperature readings. An instant-read or leave-in probe thermometer is highly recommended. Learn more about their importance on Wikipedia.
- Heavy-Bottomed Skillet: Cast iron or stainless steel is perfect for the searing stage, providing excellent heat retention.
- Tongs: For easy handling of the hot beef.
- Aluminum Foil: For resting the meat.
Preparing Your Beef Tenderloin for Success
Proper preparation is half the battle when aiming for a perfect roast beef tenderloin. These initial steps ensure that your beef is ready to absorb flavors and cook evenly, setting the stage for the remarkable reverse sear process. Neglecting these details can impact both the texture and the development of that desirable, savory crust. Take your time with these foundational steps, as they are crucial for a successful outcome.
Room Temperature Beef
Before you even think about seasoning, it’s vital to bring your beef tenderloin to room temperature. This usually takes about 1 to 2 hours, depending on the size of your roast. Removing the beef from the refrigerator ahead of time allows the meat to cook more evenly. If you start with cold beef, the exterior will cook faster than the interior, potentially leading to a less consistent doneness. This step helps in achieving that beautiful, uniform pink from edge to edge that the reverse sear method is known for.
Applying Spice Rub
Once your beef tenderloin has reached room temperature, it’s time to apply your spice rub. Pat the beef thoroughly dry with paper towels; a dry surface is key for both seasoning adherence and crust formation. Season generously with coarse kosher salt and freshly ground black pepper on all sides. Don’t be shy with the salt, as a larger roast requires more seasoning to penetrate the meat. If you’re using additional herbs or spices like garlic powder, onion powder, rosemary, or thyme, mix them with the salt and pepper before evenly coating the beef. Press the rub gently into the meat to ensure it adheres well. This initial seasoning is vital for developing a robust flavor profile in your juicy roast.
Step 1: Low Heat Oven Roast
The first and arguably most critical stage of the reverse sear method for beef tenderloin is the low-heat oven roast. This gentle cooking process is what differentiates reverse searing from traditional methods, allowing for unparalleled control over the meat’s internal temperature and ensuring a tender, evenly cooked interior. Patience during this step is key, as rushing it will compromise the final texture and doneness.
Preheat Oven to 225°F
Begin by preheating your oven to a very low temperature, precisely 225°F (107°C). This low heat is essential for the slow and gentle cooking process. Using a conventional oven is perfectly fine; avoid convection settings for this step, as they can cook the exterior too quickly and dry out the surface, which we want to keep relatively moist for optimal searing later. Give your oven ample time to reach and stabilize at this temperature. An accurate oven thermometer can be helpful to verify the temperature, ensuring you start with the ideal environment for your beef tenderloin.
Use a Wire Rack
Once your oven is preheated, place the seasoned beef tenderloin on a wire rack set inside a rimmed baking sheet. The wire rack is crucial because it allows air to circulate evenly around all sides of the beef. This uniform exposure to heat promotes consistent cooking and prevents one side from becoming soggy or cooking faster than another due to contact with the hot baking sheet. The baking sheet itself will catch any drippings, making cleanup easier. This setup is fundamental for achieving that coveted edge-to-edge doneness and setting up the meat for a fantastic, perfect crust later on.
Step 2: Reaching Internal Temperature Goal
This stage is where precision truly matters in the reverse sear method. Monitoring the internal temperature is non-negotiable for achieving your desired doneness, ensuring a perfect roast beef tenderloin every time. Guessing can lead to overcooked or undercooked meat, neither of which is ideal for such a premium cut. Trusting your thermometer will consistently yield superior results.
Insert Meat Thermometer
Carefully insert a reliable meat thermometer into the thickest part of the beef tenderloin. Ensure the probe does not touch any bone or fat, as this can give an inaccurate reading. A leave-in probe thermometer that can stay in the beef while it roasts is highly recommended, as it allows you to monitor the temperature without opening the oven door repeatedly, which can disrupt the consistent low heat environment. If using an instant-read thermometer, check the temperature periodically, perhaps every 15-20 minutes after the first 30-45 minutes of cooking. This precise measurement is key to controlling your cooking method.
Roast Until 120°F
Roast the beef tenderloin in the 225°F oven until its internal temperature reaches 120°F (49°C). For medium-rare doneness, this is the sweet spot before the searing process. Depending on the size and initial temperature of your tenderloin, this could take anywhere from 1 to 2 hours. Be patient and rely solely on your thermometer. At 120°F, the beef will be perfectly set up for its final high-heat sear, which will raise its temperature slightly more and develop that magnificent crust. This specific internal temperature goal is what allows for the perfect combination of tenderness and texture.
Step 3: First Rest for Juicy Roast
The first resting period is a critical, yet often overlooked, step in the reverse sear process. After slow roasting, the muscle fibers in the beef are tense, and the juices are concentrated towards the center. Rushing directly to searing or slicing at this point would result in a significant loss of those precious juices, leading to a drier, less flavorful roast. This rest allows the meat to relax and its internal temperatures to stabilize, preparing it for the intense heat of the sear.
Remove from Oven
Once your beef tenderloin reaches an internal temperature of 120°F (49°C), carefully remove it from the oven, still on the wire rack and baking sheet. It might not look deeply browned at this stage, and that’s perfectly normal – the beautiful crust will come later. Do not be tempted to increase the oven temperature or keep it in longer; stick to the target temperature for optimal results. The beef has achieved its initial goal of even internal cooking, and now it needs a moment to prepare for the next phase of this specific cooking method.
Rest for 20 Minutes
Transfer the beef tenderloin, still on its wire rack, to a cutting board or counter. Let it rest uncovered for a full 20 minutes. This resting time allows the internal temperature to equalize throughout the roast and for the muscle fibers to relax, redistributing the juices back through the entire cut. This step is crucial for achieving a truly juicy roast. While it rests, you can prepare your skillet for the searing step. Resist the urge to cover it with foil during this first rest, as we want a slightly drier surface for a better sear.
Step 4: Searing for Golden Crust
After the crucial first rest, it’s time for the spectacular finale of the reverse sear: the high-heat sear. This is where the magic happens, transforming the pale, roasted beef tenderloin into a deeply browned, perfectly crusted masterpiece. This step is quick and intense, requiring your full attention to achieve that desirable perfect crust without overcooking the tender interior that you worked so hard to achieve.
Heat Skillet with Oil
While the beef is resting, place a heavy-bottomed skillet, preferably cast iron, over high heat on your stovetop. Allow the pan to preheat for at least 5-7 minutes until it is smoking hot. The intense heat is vital for forming a rapid, beautiful crust. Once the pan is screaming hot, add 1-2 tablespoons of a high smoke point oil (like avocado, grapeseed, or canola oil). Swirl the oil to coat the bottom of the pan evenly. The oil should shimmer and almost smoke instantly. This ensures that when the beef hits the pan, it immediately begins to caramelize and brown, initiating the Maillard reaction.
Sear All Sides (2-3 Minutes)
Carefully transfer the rested beef tenderloin into the hot skillet. Sear the beef for 2-3 minutes per side, using tongs to turn it. Don’t forget to sear the ends as well, standing the roast up to get all surfaces browned. You’re looking for a rich, golden-brown crust. Work quickly during this stage, as the goal is to develop the crust without significantly raising the internal temperature of the beef. The beef tenderloin will already be at or very close to its final desired temperature, so this sear is purely for texture and flavor. This swift, high-heat application is what brings out the incredible flavor and creates that appealing exterior of a truly magnificent roast.
Step 5: Final Rest Before Serving
You’re almost there! The roast beef tenderloin has been perfectly roasted and beautifully seared. However, there’s one more critical step before you can enjoy your masterpiece: the final rest. This second resting period is just as important as the first, ensuring that every slice of your tenderloin is incredibly juicy and full of flavor. Skipping this step would undermine all the careful work you’ve put in, leading to a less satisfying dining experience.
Let Beef Rest (10 Minutes)
After searing, immediately transfer the beef tenderloin to a clean cutting board. Tent it loosely with aluminum foil. Do not wrap it tightly, as this can steam the crust you just worked so hard to create. Allow the beef to rest for at least 10 minutes, or even up to 15 minutes for larger roasts. During this time, the internal temperature will continue to rise slightly (this is called carryover cooking) and then begin to stabilize. This period is crucial for the redistribution of juices, ensuring that they are absorbed back into the muscle fibers rather than spilling out onto your cutting board when sliced.
Why Resting is Key
Resting is key because it allows the muscle fibers, which contracted during the cooking process, to relax. When meat cooks, its proteins denature, and the fibers tighten, pushing moisture towards the center. If you cut into the beef immediately, these concentrated juices will simply flow out. Resting gives the juices time to reabsorb and evenly distribute throughout the entire roast, resulting in a significantly more tender and juicy roast. This step is a hallmark of good cooking and essential for serving the best possible beef tenderloin recipe. Don’t skip it; patience here truly pays off with every succulent bite.
Serving Your Delicious Roast Beef Meal
After all the careful preparation, roasting, searing, and resting, it’s finally time to enjoy the fruits of your labor. Presenting your perfectly cooked roast beef tenderloin is the culmination of your efforts. How you slice and what you pair it with can further enhance the dining experience, making it a truly memorable meal for your guests or family. Consider browsing Carina Recipes’ Pinterest for more serving ideas.
How to Slice Tenderloin
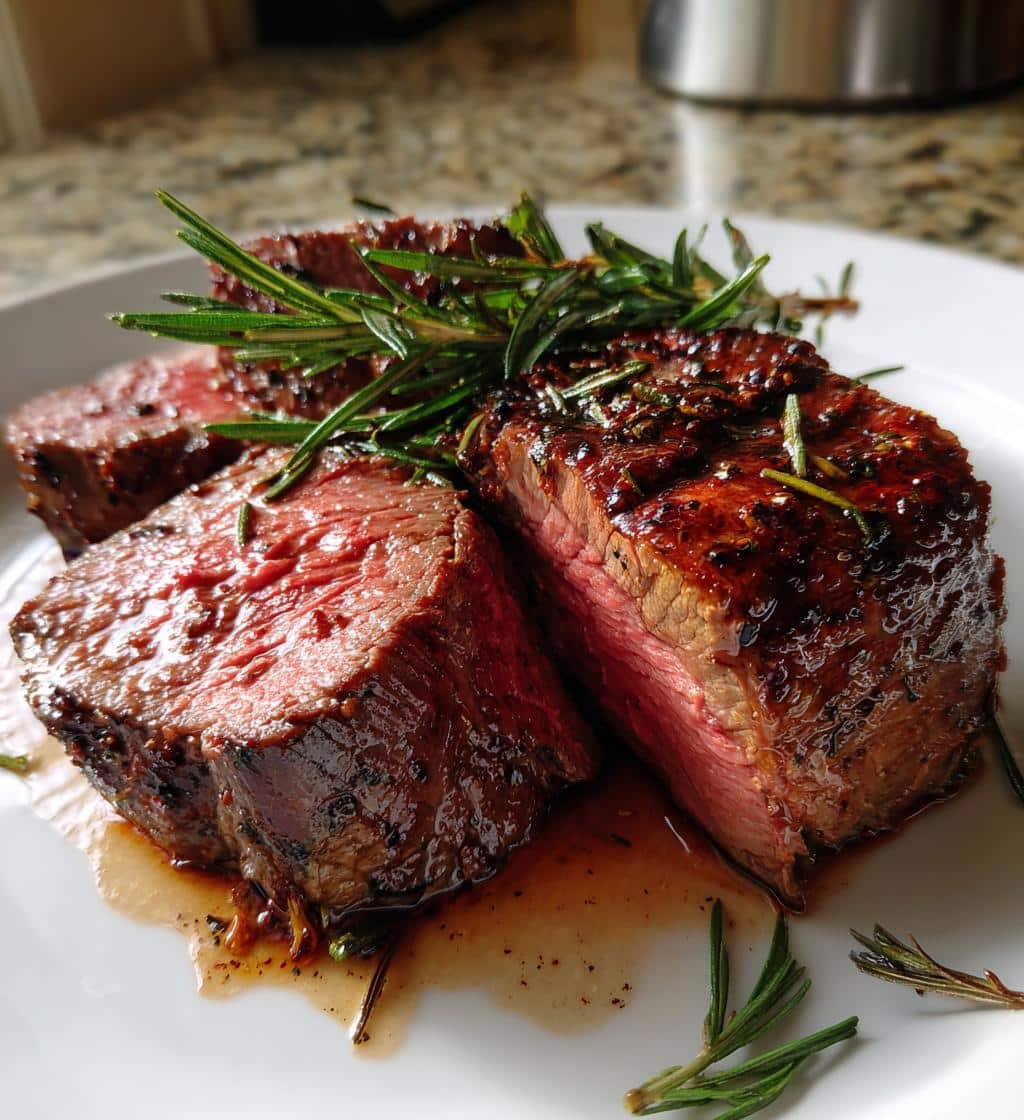
To showcase the beautiful, even doneness you’ve achieved, proper slicing is essential. Using a sharp carving knife, slice the beef tenderloin against the grain into ½-inch to ¾-inch thick medallions. Slicing against the grain shortens the muscle fibers, making each bite incredibly tender and easy to chew. Arrange the slices artfully on a platter, perhaps drizzling any accumulated juices from the cutting board over them. The visual appeal of an evenly cooked, rosy-pink interior contrasting with a crisp, dark crust is truly stunning.
Pairing Suggestions
Roast beef tenderloin is versatile and pairs wonderfully with a variety of side dishes. For classic elegance, consider roasted asparagus, creamy mashed potatoes, or a vibrant green bean almondine. A rich red wine sauce or a simple béarnaise sauce can complement the beef beautifully. For something a little different, try serving it with a crisp beet salad with feta, or perhaps some crispy cauliflower. Don’t forget a robust red wine like Cabernet Sauvignon or Merlot to complete the meal. These thoughtful pairings will elevate your roast beef tenderloin recipe into a full, satisfying feast.
Best Tips for Reverse Sear Tenderloin
Achieving consistent success with reverse sear beef tenderloin comes down to a few key practices. While the method itself is precise, these tips will help you fine-tune your technique and ensure every roast is a triumph. Mastering these small details will move your cooking from good to truly exceptional, making you confident in preparing this premium cut for any occasion.
Always Use Thermometer
This cannot be stressed enough: an accurate meat thermometer is your best friend when reverse searing. Unlike other cooking methods where visual cues might suffice, the internal temperature is paramount here. It ensures you pull the beef at precisely the right moment for both the initial roast and for verifying final doneness. Investing in a good quality digital instant-read or leave-in probe thermometer is the single most important tool for achieving a perfect roast every time. Guessing will lead to inconsistent results and potential disappointment, especially with a tenderloin.
Don’t Skip Resting Times
The two resting periods (after the low roast and after the sear) are non-negotiable for a truly juicy roast. These resting times allow the muscle fibers to relax and the internal juices to redistribute, preventing them from gushing out when you slice. The first rest helps equalize temperature before searing, and the second ensures maximum juiciness. Skipping either rest will result in a drier, less flavorful roast, no matter how perfectly you cooked it otherwise. Patience during these brief pauses is rewarded with every succulent bite.
Adjust Flavors to Taste
While salt and pepper are the foundation for a reverse sear beef tenderloin, feel free to experiment with other seasonings to match your personal preferences. Garlic powder, onion powder, paprika, dried herbs like rosemary or thyme, or even a touch of chili flake can add wonderful complexity. Consider finishing with a sprinkle of flaky sea salt just before serving for an added textural and flavor pop. However, always taste your seasonings before applying liberally. The beauty of this cooking method is that the beef’s natural flavor shines through, so choose complementary spices that enhance rather than overpower it.
Nutrition Facts for Roast Beef Tenderloin
Understanding the nutritional profile of roast beef tenderloin can help you incorporate this delicious meal into a balanced diet. Beef tenderloin is often praised for being a leaner cut compared to other beef options, making it a popular choice for those mindful of their intake. These facts generally apply to a 3-ounce (approximately 85-gram) serving of cooked, unseasoned beef tenderloin. The addition of oils, sauces, and seasonings will alter the precise values.
Calories and Protein
A typical 3-ounce serving of cooked beef tenderloin contains approximately 170-190 calories. It is an excellent source of high-quality protein, providing around 25-27 grams per serving. Protein is essential for muscle repair, growth, and overall bodily function, making beef tenderloin a satisfying and nutrient-dense option. Its rich protein content makes it a staple for many healthy eating plans, providing sustained energy and satiety. For more protein-rich dinner ideas, check out recipes like Easy Butter Chicken.
Fat and Sodium Info
Beef tenderloin is relatively lean compared to other cuts. A 3-ounce serving usually contains about 7-9 grams of total fat, with around 3-4 grams of saturated fat. It also contains beneficial monounsaturated fats. Cholesterol content is typically around 60-70 mg. Sodium levels in unseasoned beef tenderloin are naturally low, often less than 100 mg per serving. However, when preparing your roast beef tenderloin recipe, be mindful of the amount of salt you add, as this will significantly increase the sodium content. When paired with suitable sides, it fits well into a nutritious meal plan.