
Slice and Bake Heart Cookies offer a charming way to spread happiness with minimal effort. This easy cookie recipe provides a delightful experience, perfect for any celebration or just because. Enjoy crafting these homemade sweet treats, bringing pure joy baking into your kitchen. They are truly simple to prepare.
Key Takeaways
- Simple steps make creating slice and bake heart cookies enjoyable.
- Proper ingredient mixing and chilling ensure perfect shapes.
- Baking and cooling correctly yields delicious, soft cookies.
- Learn tips for troubleshooting and advanced preparation.
- Share your homemade sweet treats for pure joy baking moments.
Baking hearts brings warmth and pure joy. Simple ingredients transform into magic. Share these sweet creations with loved ones. They make everyone smile brightly. Pure joy baking indeed.
Beginning Your Slice and Bake Heart Cookies
Gathering Necessary Tools
To start your journey into creating delightful slice and bake heart cookies, having the right tools at hand is crucial. This ensures a smooth and enjoyable baking process, minimizing interruptions. You’ll need standard kitchen equipment, but a few specific items will make all the difference for this easy cookie recipe. Essential tools include a large mixing bowl, an electric mixer (handheld or stand mixer is fine), measuring cups and spoons for precision, and a sturdy spatula for scraping down the bowl. For shaping your festive heart cookies, a rolling pin and heart-shaped cookie cutters are indispensable. Consider various sizes of cutters for an assortment of shapes. Baking sheets lined with parchment paper are also key for non-stick results and easy cleanup. Having these items ready beforehand means you can focus entirely on the pure joy baking provides. For more delightful sweet treats, check out our desserts section.
Quick Prep and Cook Time
One of the many benefits of choosing slice and bake heart cookies is their relatively quick preparation and cook time, making them a fantastic option for busy schedules or spontaneous baking urges. The actual hands-on preparation usually takes about 20-30 minutes, primarily involving mixing ingredients and forming the dough. The most significant waiting period will be during the chilling phase, which is vital for the dough’s consistency and shape. This can range from 1 to 2 hours, or even overnight for ultimate convenience. Once chilled, slicing and baking these homemade heart cookies is a breeze, requiring only 10-12 minutes in a preheated oven. This efficient timeline means you can have warm, fresh cookies ready to enjoy or share in just a few hours, with most of that time being hands-off. It’s an ideal project for a weekend afternoon or even a weeknight dessert, bringing immediate gratification and pure joy to your kitchen.
Ingredients for Slice and Bake Joy
All Dry Mix Staples
The foundation of any good cookie recipe lies in its dry ingredients. For your slice and bake heart cookies, these staples ensure the perfect texture and structure. You’ll need all-purpose flour, which provides the main bulk and gluten structure, giving your cookies their chewiness. Baking powder and baking soda act as leavening agents, helping the cookies rise slightly and achieve a tender crumb. A pinch of salt is crucial for balancing the sweetness and enhancing all the other flavors, making them truly pop. Granulated sugar, while technically a wet ingredient when creamed with butter, functions here as a primary sweetener, contributing to browning and crispness. Ensure all your dry ingredients are fresh for optimal results. It’s often recommended to whisk them together in a separate bowl before combining with wet ingredients, which helps distribute the leavening and salt evenly, preventing pockets of unmixed flavor and ensuring consistent cookie preparation. For another delightful dessert, consider making a Snickerdoodle Cobbler.
Essential Wet Mix Items
Complementing the dry ingredients are the essential wet mix items that contribute moisture, richness, and flavor to your homemade heart cookies. Unsalted butter, softened to room temperature, is paramount. It provides richness, helps create a tender texture, and is the base for creaming with sugar, incorporating air into the dough. Large eggs, also at room temperature, act as a binder, adding moisture and aiding in leavening, contributing to the overall structure and preventing crumbly cookies. Pure vanilla extract is a flavor powerhouse, infusing your sweet treats with a warm, comforting aroma that defines classic cookie taste. For an extra touch of richness or a slight variation, some recipes might suggest a splash of milk or a different extract, but butter, eggs, and vanilla are the core triumvirate for a reason. Using quality ingredients here will significantly impact the final taste and enjoyment of your festive baking.
Crafting Dough for Heart Cookies
Creaming Butter and Sugar
The creaming method is a cornerstone technique in baking, especially for achieving light and tender slice and bake heart cookies. This step involves beating softened unsalted butter with granulated sugar until the mixture becomes pale, fluffy, and significantly increased in volume. The process incorporates air into the butter, creating tiny pockets that will expand during baking, contributing to the cookie’s delicate texture. Use an electric mixer on medium speed and scrape down the sides of the bowl frequently to ensure even creaming. This usually takes about 3-5 minutes. The sugar crystals help to cut into the butter, further aerating it. Proper creaming is fundamental for an easy cookie recipe as it sets the stage for the dough’s structure and ensures your homemade heart cookies are not dense or flat. It’s a small step that yields big results in pure joy baking. For more baking inspiration, explore our collection on Pinterest.
Adding Egg and Vanilla
Once the butter and sugar are perfectly creamed, it’s time to incorporate the liquid elements: the egg and vanilla extract. Add the egg (or eggs, depending on the recipe) one at a time, beating well after each addition until fully combined. The egg acts as an emulsifier, binding the fat and liquids together, and also adds moisture and richness. It’s important to scrape down the sides of the bowl after each egg to ensure everything is thoroughly incorporated. Next, stir in the pure vanilla extract. Vanilla is a crucial flavor enhancer, providing that comforting, signature cookie taste that makes these sweet treats so irresistible. Be careful not to overmix at this stage; just mix until the ingredients are combined. Overmixing after the egg can start to develop the gluten too early, potentially leading to tougher cookies. This careful integration creates a smooth, well-hydrated base for your festive baking dough, moving you closer to pure joy with every bite. If you enjoy creating unique cookies, you might also like our Blueberry Muffin Cookies with Streusel.
Mixing Dry and Wet Perfectly
Gradual Ingredient Addition
After your wet ingredients are beautifully combined, the next crucial step in crafting perfect slice and bake heart cookies is the gradual addition of the dry mix. This isn’t a step to rush; patience here ensures a wonderfully uniform dough. Begin by adding about one-third of your whisked dry ingredients to the wet mixture. Mix on low speed, just until the flour streaks mostly disappear. Overmixing at this stage can develop gluten excessively, leading to tough cookies, which we definitely want to avoid for these tender sweet treats. Continue adding the dry ingredients in two more batches, mixing briefly after each addition. The goal is to combine until *just* incorporated, meaning you might still see a few flour streaks, which is perfectly fine. The final mixing will happen during the shaping process. This method helps maintain the airy structure developed during creaming and ensures your homemade heart cookies have that desirable melt-in-your-mouth texture, enhancing the pure joy baking experience. For more visually inspiring recipes, follow us on Instagram. If you’re a fan of cookies, our Peanut Butter Brownie Swirl Cookies are another must-try!
Chilling Dough for Perfect Shapes
Why Dough Chilling Helps
Chilling the dough is an indispensable step for achieving beautifully shaped slice and bake heart cookies. While it might feel like an extra wait, this process is absolutely worth it for an easy cookie recipe. Firstly, chilling solidifies the butter in the dough. When butter is cold, it melts more slowly in the oven, preventing the cookies from spreading too quickly and losing their distinct heart shape. This results in thicker, more defined cookies. Secondly, chilling allows the flour to fully hydrate, which not only improves the dough’s texture, making it less sticky and easier to handle, but also enhances the flavor as the ingredients have time to meld together. Lastly, it relaxes the gluten, leading to a more tender cookie. Skipping this step often results in flat, misshapen cookies, which can be disheartening after all your cookie preparation efforts. Embrace the chill time for superior homemade heart cookies.
Recommended Chill Time
For optimal results with your slice and bake heart cookies, a minimum chill time of 1 to 2 hours is highly recommended. This duration is usually sufficient for the butter to firm up and the flavors to develop. If you have more time, or if you’re preparing the dough in advance for festive baking, chilling it overnight, or even for up to 2-3 days, can yield even better results. Longer chilling times intensify the flavors and make the dough exceptionally easy to work with. When chilling, wrap the dough tightly in plastic wrap or place it in an airtight container to prevent it from drying out or absorbing refrigerator odors. Before rolling and cutting, you might need to let the dough sit at room temperature for 5-10 minutes to make it slightly more pliable, especially if it’s been chilled overnight. This thoughtful cookie preparation ensures every heart cookie is a pure joy baking success.
Shaping Your Slice and Bake Hearts
Rolling Dough Evenly
Once your dough for slice and bake heart cookies is perfectly chilled, it’s time for the fun part: shaping! The key to success here is rolling the dough evenly. On a lightly floured surface, or between two sheets of parchment paper, roll out your dough to an even thickness, typically about 1/4 inch. Using parchment paper can save you from adding too much extra flour, which can toughen the cookies. An even thickness ensures that all your homemade heart cookies bake consistently, preventing some from burning while others are still underdone. If your dough becomes too warm and sticky during rolling, don’t hesitate to pop it back into the refrigerator for 10-15 minutes. This step is crucial for an easy cookie recipe, as unevenly rolled dough can lead to varying bake times and less appealing results, detracting from the overall pure joy baking experience you’re aiming for.
Cutting Heart Shapes
With your dough rolled out to the ideal thickness, now comes the moment to cut out those adorable heart shapes for your festive baking. Dip your heart-shaped cookie cutters in a little flour before each cut; this prevents sticking and ensures clean edges. Press the cutter straight down firmly, without twisting, and then lift straight up. Twisting can distort the shape. Arrange the cut-out cookies on your parchment-lined baking sheets, leaving about an inch between each to allow for slight spreading. Gather the dough scraps, gently press them together without overworking, and re-roll once or twice to cut more cookies. Be mindful not to add too much extra flour when re-rolling. This meticulous cookie preparation step ensures a batch of perfectly formed sweet treats ready for the oven, guaranteeing smiles with every bite of these slice and bake heart cookies.
Baking Slice and Bake Heart Cookies
Setting Oven Temperature
Precise oven temperature is paramount for baking your slice and bake heart cookies to perfection. Most cookie recipes, including this easy cookie recipe, call for a preheated oven at 350°F (175°C). It’s essential to preheat your oven fully before placing the cookies inside, as a properly heated oven ensures even baking from the start. Using an oven thermometer can be incredibly helpful to verify your oven’s accuracy, as many home ovens can fluctuate in temperature. If your oven runs hot or cold, adjust accordingly. Baking at the correct temperature allows the cookies to rise properly, set their shape, and develop a beautiful golden-brown color without burning. A consistent temperature prevents the butter from melting too quickly, preserving the charming heart shapes of your homemade sweet treats and contributing to the pure joy baking outcome you desire.
Knowing When Done
Determining when your slice and bake heart cookies are perfectly baked is more of an art than a science, but there are clear indicators to look for. Typically, these homemade heart cookies will bake for 10-12 minutes. You’ll know they’re done when the edges are lightly golden brown, and the centers appear set and no longer glossy. The cookies might still seem a little soft in the middle when you first take them out of the oven, but they will firm up as they cool on the baking sheet. Avoid overbaking, as this can lead to dry, crumbly cookies. For consistency in your festive baking, rotate your baking sheets halfway through the baking time if your oven has hot spots. Trust your eyes and your nose; a wonderful cookie aroma filling your kitchen is usually a good sign that pure joy baking is nearing completion.
Cooling Your Heart Cookies Joyfully
Letting Them Rest
After patiently baking your slice and bake heart cookies, the cooling process is the final, gentle step before enjoying these sweet treats. It’s crucial to let the cookies rest on the hot baking sheet for 5-10 minutes immediately after removing them from the oven. During this time, the residual heat from the baking sheet continues to cook the cookies slightly, helping them to firm up and preventing them from falling apart when transferred. They also become more structurally sound. After this initial rest, carefully transfer the homemade heart cookies to a wire cooling rack to cool completely. Air circulation on all sides helps prevent sogginess and ensures a crisp edge. Resist the temptation to decorate warm cookies, as icing will melt and colors might run. Proper cooling is part of the meticulous cookie preparation that guarantees a perfect texture, ready for festive baking enjoyment.
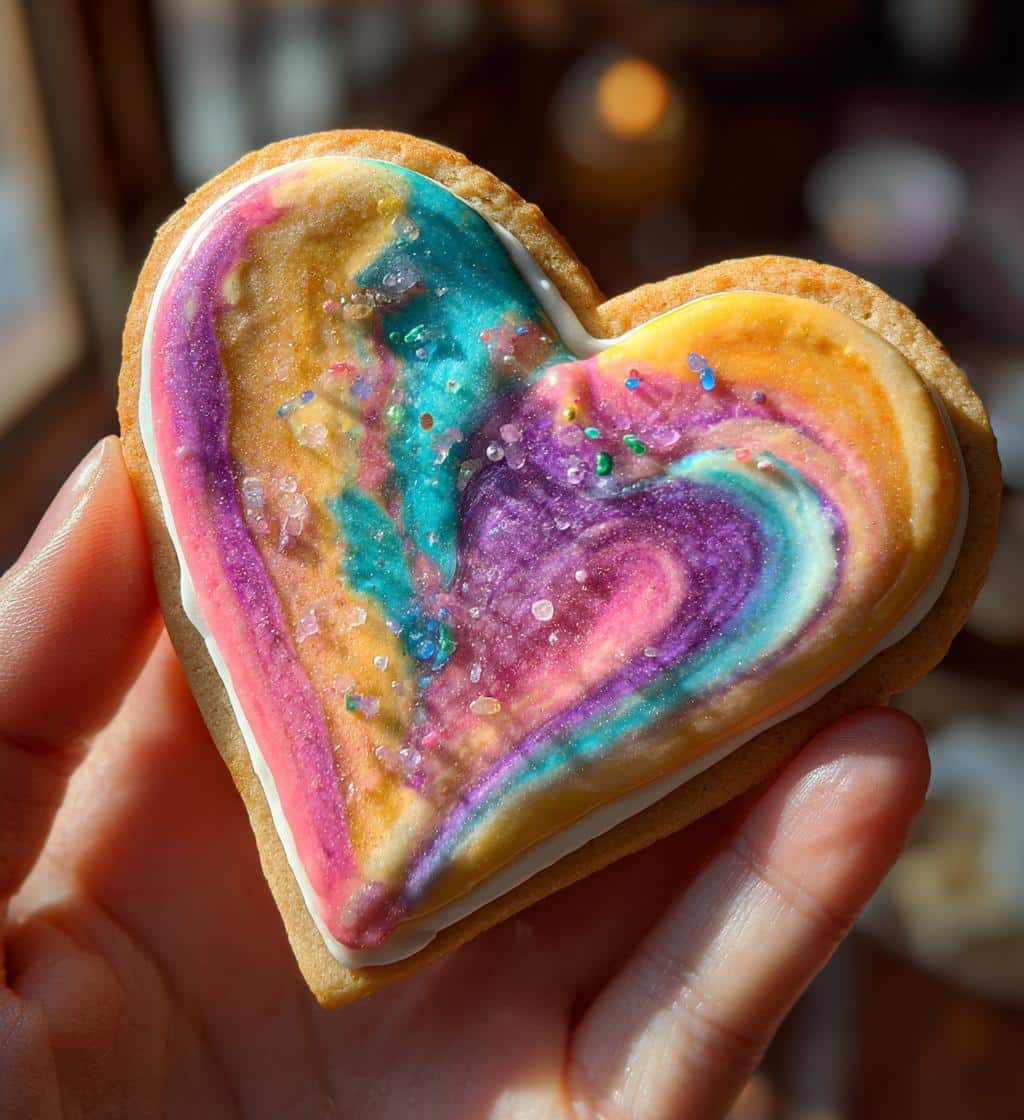
Easy Decoration Ideas
Once your slice and bake heart cookies are completely cool, the fun of decorating begins, adding a personal touch to your pure joy baking creations! For a simple yet elegant look, a dusting of powdered sugar through a fine-mesh sieve adds a delicate finish. You can also create a basic glaze by whisking powdered sugar with a little milk or lemon juice; drizzle this over the cookies for a subtle sweetness and shine. For more vibrant homemade heart cookies, consider using royal icing or simple buttercream. Tint these with food coloring to match any festive theme. Sprinkles, edible glitter, or small candy hearts can be added while the icing is still wet for extra sparkle and charm. The beauty of these sweet treats is their versatility; you can keep them understated or go all out with your creativity. Whatever you choose, these decorated cookies will surely bring smiles and cheer.
Storing Your Delicious Heart Cookies
Keeping Them Fresh
To keep your slice and bake heart cookies fresh and delicious for as long as possible, proper storage is key. Once completely cooled, store the homemade heart cookies in an airtight container at room temperature. This prevents them from becoming stale or absorbing moisture from the air. If you’ve decorated your sweet treats with icing, ensure the icing is fully set before stacking them to prevent sticking. Placing a piece of parchment paper between layers of cookies can also help, especially if they have delicate decorations. Avoid storing them near strong-smelling foods, as cookies can absorb odors. For longer-term storage, freezing is an excellent option. Simply place the cooled cookies in a freezer-safe airtight container or freezer bag. This mindful cookie preparation ensures that every bite retains that initial pure joy baking freshness.
Shelf Life Guidance
The shelf life of your slice and bake heart cookies depends largely on how they are stored. At room temperature in an airtight container, these easy cookie recipe delights will typically stay fresh for 3-5 days. Beyond this, their texture might start to change, becoming drier or softer, though they might still be safe to eat. If you’ve decorated them with fresh buttercream or other perishable toppings, their shelf life might be slightly shorter, around 2-3 days, and refrigeration might be necessary, though this can sometimes alter the cookie’s texture. For extended enjoyment, frozen homemade heart cookies can last for up to 3 months. Thaw them at room temperature for a few hours before serving. This guidance allows you to enjoy your festive baking creations over time, ensuring you can savor the pure joy baking brings whenever a craving strikes.
Nutrition Facts for Each Cookie
Calories and Sugar Content
Understanding the nutrition facts for your slice and bake heart cookies can be helpful for those monitoring their dietary intake. While these sweet treats are certainly an indulgence, being aware of their caloric and sugar content allows for informed enjoyment. Typically, a single homemade heart cookie, depending on its size and the exact recipe, might range from 80 to 150 calories. The sugar content can also vary, but a standard cookie might contain anywhere from 8 to 15 grams of sugar. These figures are estimates and will be influenced by the type and amount of sugar used, as well as any added decorations like icing or sprinkles. For precise data, using an online recipe calculator with your specific ingredients is recommended for detailed cookie preparation tracking. Enjoy these festive baking delights in moderation as part of a balanced diet.
Protein and Fat Breakdown
Beyond calories and sugar, the protein and fat breakdown of your slice and bake heart cookies offers further nutritional insight. Each cookie usually contains a modest amount of protein, primarily from the eggs and flour, often around 1-2 grams per cookie. The fat content, however, tends to be higher due to the butter, which is essential for texture and flavor in this easy cookie recipe. Expect each cookie to have approximately 5-10 grams of fat, with a portion of that being saturated fat. These values contribute to the cookie’s satisfying richness and mouthfeel, characteristics that make homemade heart cookies such a beloved sweet treat. While not a primary source of protein or healthy fats, knowing these components helps complete the nutritional picture, allowing you to appreciate your pure joy baking creations fully and mindfully.
Tips for Best Heart Cookies
Common Baking Troubleshooting
Even with an easy cookie recipe, baking can sometimes present challenges. If your slice and bake heart cookies are spreading too much, ensure your butter was not too soft when creaming and that your dough was adequately chilled. Adding a tablespoon or two of extra flour can sometimes help if the dough seems too wet. If your homemade heart cookies are tough, you might be overworking the dough, which develops gluten excessively. Mix dry ingredients until just combined. If they are browning unevenly, your oven might have hot spots; try rotating the baking sheet halfway through. For cookies that stick to the sheet, ensure you’re using parchment paper or a non-stick baking mat. Addressing these common issues will refine your cookie preparation skills and ensure every batch of sweet treats contributes to pure joy baking.
Advance Preparation Advice
One of the best features of slice and bake heart cookies is their suitability for advance preparation. You can make the cookie dough several days ahead of time and store it tightly wrapped in the refrigerator for up to 3-5 days. This makes festive baking much less stressful, allowing you to bake fresh cookies on demand. You can also form the dough into logs, wrap them well, and freeze them for up to 3 months. When ready to bake, simply slice the frozen dough and bake as directed, adding a minute or two to the baking time if needed. This method is incredibly convenient for spontaneous pure joy baking moments or for having homemade heart cookies ready for unexpected guests. Preparing in advance saves time and reduces stress, letting you focus on the delightful experience of sharing these sweet treats.
Embracing Pure Joy with Every Bite
Sharing Your Creations
The true magic of making slice and bake heart cookies extends beyond the kitchen; it’s about sharing the pure joy baking brings. These homemade heart cookies are perfect for gifting to friends, family, or neighbors, especially during festive seasons or as a simple gesture of affection. Package them in decorative boxes or bags, tied with a pretty ribbon, to elevate their presentation. Bringing a plate of these sweet treats to a potluck or gathering is always a welcome contribution. Each cookie carries a piece of your effort and care, making it more than just a dessert—it’s a small token of happiness that brightens someone’s day. Spread the warmth and sweetness that these easy cookie recipe hearts embody.
Celebrating Small Moments
Pure joy baking isn’t always about grand occasions; often, it’s about celebrating the small moments that make life sweet. Your slice and bake heart cookies are perfectly suited for this. Enjoy one with your morning coffee, pack a couple in a lunchbox for a delightful midday surprise, or share them with loved ones during an impromptu afternoon tea. These homemade heart cookies remind us to slow down and appreciate simple pleasures. They can turn an ordinary day into something special, adding a touch of festive baking charm to routine moments. So, whether you’re baking for a holiday or just because, remember that every heart-shaped cookie is an invitation to savor the present, find happiness in the everyday, and embrace the pure joy baking brings to your life.